Index
Overview and links to each section:
Intro
I, like many others, use Squarespace and their template Tudor.
In Settings → Social Links, you can add links to your various sites / profiles which it will display in various places around your site.
For the most common sites (Facebook, Twitter, LinkedIn, etc), Squarespace have created nice icons for us. For uncommon sites, you just get a reused, generic link icon.
Since 2019/11/30, I’ve been using my own custom solution to this. Today, I decided to write up how it works so that others can do so too.
Create icons
First of all, you need to create a custom icon but, once you know how, it’s not very difficult.
To blend in with the existing icons, the icon’s image file must comply with the following:
Overall dimensions: 36px x 36px
Logo dimensions: ~19px
Default background colour:
#212121Default logo colour:
#FFFFFFHover background colour:
#A3A3A3Hover icon colour:
#C7C7C7
To do this, I use GIMP (GNU Image Manipulation Program) which is free.
Step #1: Open templates
Incredibly, it’s really not straight-forward to draw a circle in GIMP and I can’t remember how I did it back then but I had the foresight to create templates which I’ve made available to dowload:
Default icon: https://mythofechelon.co.uk/s/Default-icon.xcf
Hover icon: https://mythofechelon.co.uk/s/Hover-icon.xcf
Step #2: Get logo image
For whatever web site you’re adding, get the logo as a PNG image file, ideally with transparency.
Usually, a simple Google Image for sitename logo filetype:png (conveniently linked for you) is good enough.
Step #3: Import
You can do this by dragging and dropping the image file anywhere over GIMP. Alternatively, you can use File → Open as Layers….
This will add it as a new layer. Don’t worry that you can’t see it all.
Step #4: Scale
Right-click on the layer that contains the imported logo image, select Scale Layer…, enter a height of around 18 to 20 px, and then select Scale.
Step #5: Colourize
Select the menu item Colors → Colorize… (this opens a new window named Colorize), click on the colour box (this opens a new window named Color), enter the aforementioned hexadecimal logo colour into the field HTML notation then select OK twice.
Step #6: Export
Select menu item File → Export As… (this opens a new window named Export Image), ensure that the file type is PNG, select Export (this opens a new window named Export Image as PNG), and then select Export again.
Remember: You need to do the same for the second icon too.
Upload icons
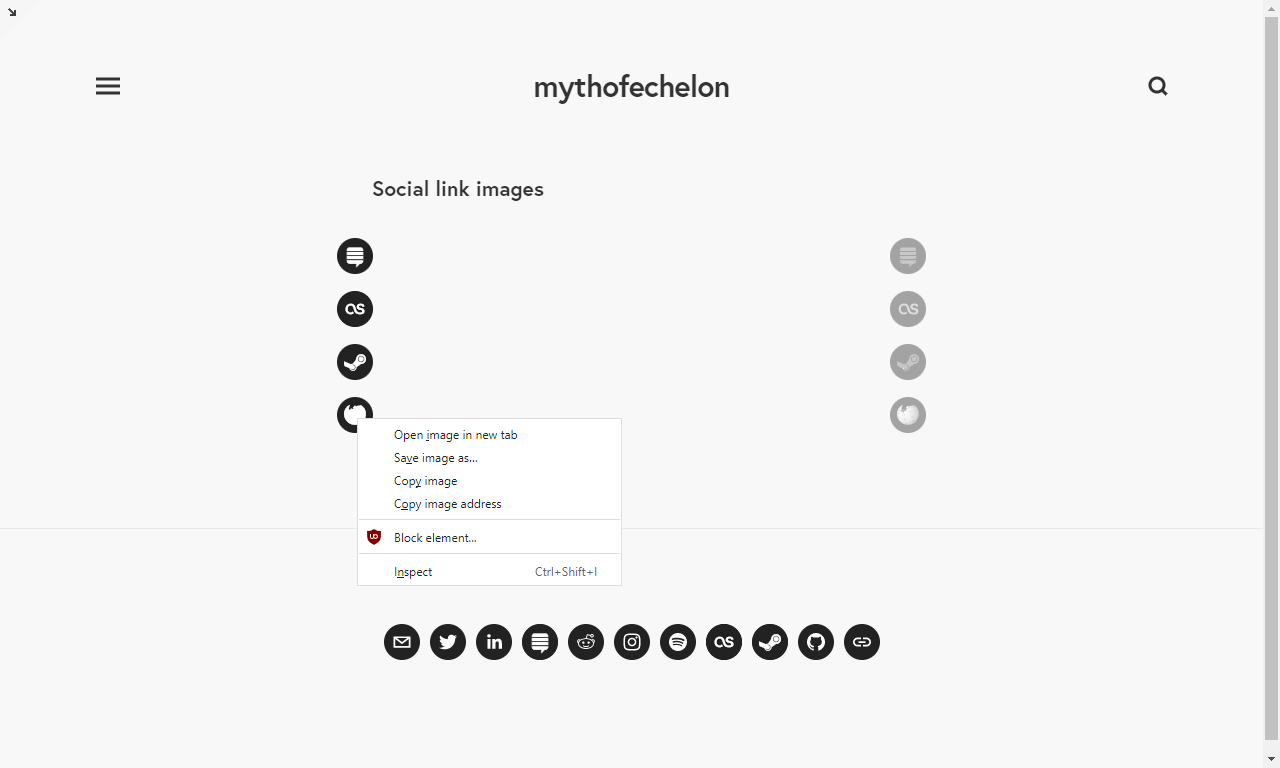
Somewhere on your Squarespace site, upload both the default and hover images that you created in the last section. A dedicated, disabled (hidden) page works well for this.
Once you’ve done that, copy and make a note of each image’s address / URL.
Update JavaScript
I wrote the following JavaScript to search through the current page’s social link elements looking for a domain name match and, when found, replace the HTML with elements that contain the images for CSS to hide or display.
Replace the following values with your own:
%SiteName%. For example, replace withWikipedia.%domainname%. For example, replace withwikipedia.%DefaultIcon_URL%%HoverIcon_URL%
<script type="text/javascript">
	window.onload = execAll_Footer();

	function execAll_Footer(){
		edit_socialLinks();
	}

	function edit_socialLinks(){
		var socialLinks_Icons = document.getElementsByClassName("sqs-svg-icon--wrapper");

		var socialLinks_commonStyles_blackAndWhite = "left: 0%; top: 0%; width: 100%; height: 100%; position: absolute;";
		var socialLinks_commonStyles_Grayscale = "transition: visibility 0.17s, opacity 0.17s ease-in-out; visibility: hidden; opacity: 0; z-index: 10;";

		var socialLinks_%SiteName%_Name = "%domainname%";
		var socialLinks_%SiteName%_iconURL_blackAndWhite = "%DefaultIcon_URL%";
		var socialLinks_%SiteName%_iconURL_Grayscale = "%HoverIcon_URL%";

		for (var i = 0; i < socialLinks_Icons.length; i++){
			var socialLinks_Icon = socialLinks_Icons[i];
			var socialLinks_Icon_Link = socialLinks_Icon.getAttribute("href");

			if (socialLinks_Icon_Link.includes(socialLinks_%SiteName%_Name)){
				socialLinks_Icon.innerHTML = '<div id="' + socialLinks_%SiteName%_Name + '"><div id="' + socialLinks_%SiteName%_Name + '_Grayscale"><img src="' + socialLinks_%SiteName%_iconURL_Grayscale + '" style="' + socialLinks_commonStyles_blackAndWhite + socialLinks_commonStyles_Grayscale + '"/></div><div id="' + socialLinks_%SiteName%_Name + '_blackAndWhite"><img src="' + socialLinks_%SiteName%_iconURL_blackAndWhite + '" style="' + socialLinks_commonStyles_blackAndWhite + '"/></div></div>';
			}
		}
	}
</script>
Sign into your Squarespace site, select Settings → Advanced → CodeInjection → Footer, paste your version of the above code, and then select SAVE.
Update CSS
The following CSS piggybacks off of the JavaScript-injected CSS to recreate the affect of the icon “fading out” (to the greyscale icon) when a user hovers over the row then “fading in” when a user hovers over the specific icon.
Replace the value %domainname% with the one that you used in the JavaScript.
.sqs-svg-icon--list:hover #%domainname%_Grayscale img {
  visibility: visible !important;
  opacity: 1 !important;
}
#%domainname%:hover #%domainname%_Grayscale img {
  visibility: hidden !important;
  opacity: 0 !important;
}
Sign into your Squarespace site, select Design → Custom CSS, paste your version of the above code, and then select SAVE.
If you find that your social links are starting to wrap onto a second line and you want to keep them on one line then adjust and add the following too:
#sideTrayWrapper {
	max-width: %yourValue%px !important;
}
Sign-off
And there you go: all done!
I hope that this has been useful.
Feel free to subscribe to my newsletter to be automatically notified of new blog posts in the future.
😊


